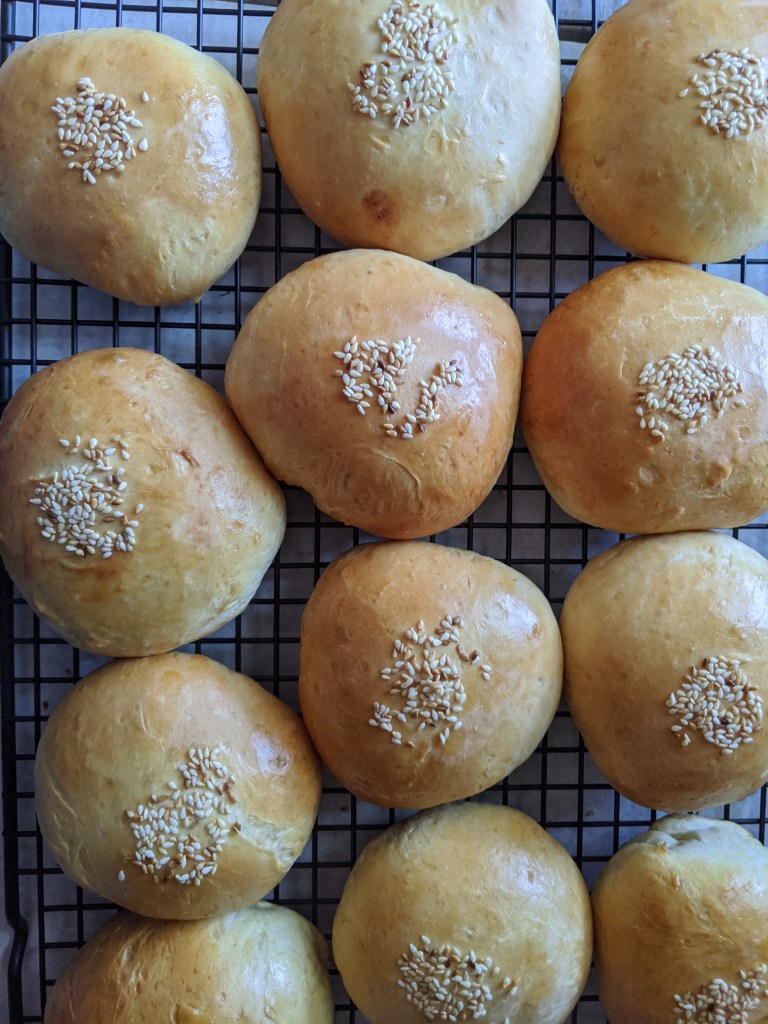
Ah, finally a bread post! I’ve been waiting so long for this, but my indecisiveness was holding me captive. Today, I’ll share some tips and tricks for making red bean buns, Asia’s most popular bread!
Sold just about anywhere in bakeries, red bean buns come in all shapes and forms. In Japan, they’re called AnPan (あんパン), just like the famous superhero Anpanman. Koreans have 단팥빵 and 찐빵, where the difference is baked or steamed buns. 豆沙包 is the best in China and is also called 紅豆包. There are so many variations, it would take forever to get to through all of them!
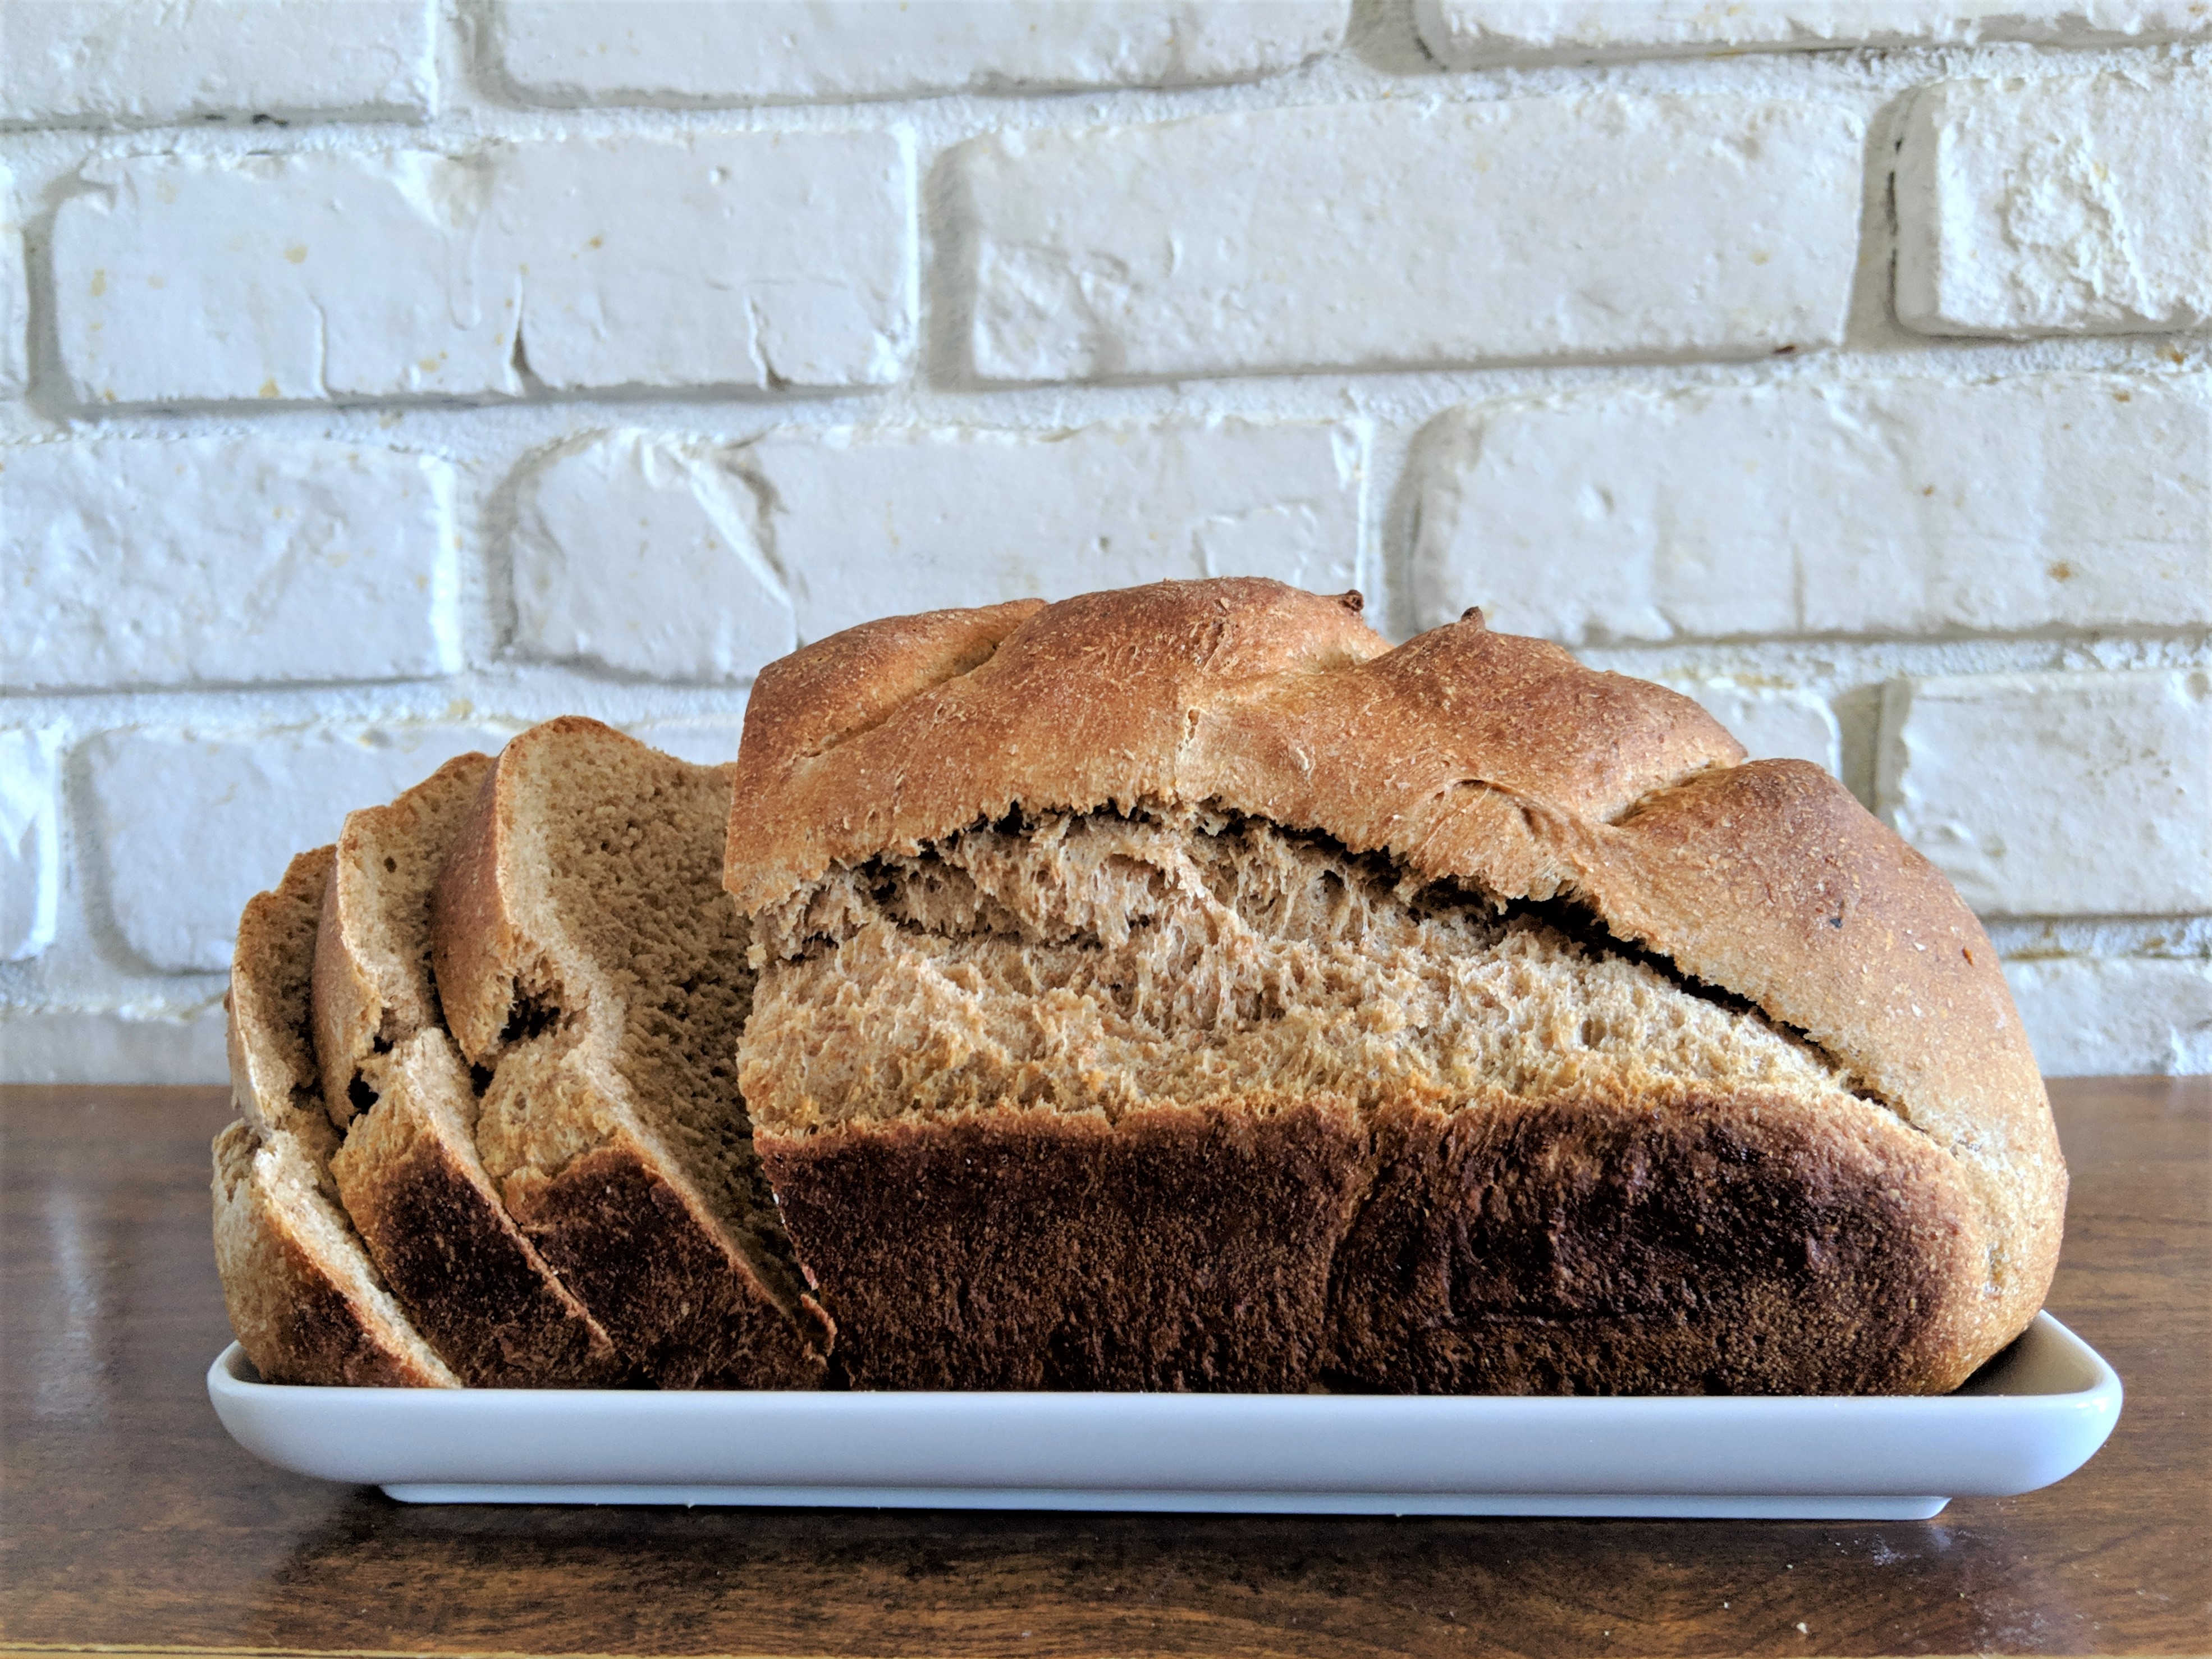
The way I made my red bean buns is having an easy milk bread base and adding in red bean paste. I like having a shiny golden top, so I baked mine. I found it especially easy to have a base that you can build on as well as simple enough to make with limited ingredients. I adapted my milk bread from Woman Scribbles and I will put the link at the end of the post.
Beans, beans, beans! Red bean paste is super hard to make and I don’t think I would ever have the patience to do it. If you want to learn more about it, the movie An (あん), is an amazing movie and you can learn about the process of making red bean paste. So, my alternative is supermarket canned red bean paste! I do have to say though, some of them are a lot sweeter than the ones in Asia, so spoon wisely. I make the bread a little less sweet so that it isn’t as overwhelming.
To sum it up easily, I made the milk bread, bought canned red bean paste, and spooned them in before baking them.
Red Bean Buns
- 2/3 heavy cream (you can substitute this with 2/3 milk and two tbsp of butter)
- 1 cup milk
- 1 large egg
- 1/3 cup sugar
- 4 cups flour
- 1 tbsp yeast
- 1 & 1/2 tsp salt
- egg wash (1 egg & 1 tbsp milk)
- 1 can red bean paste
- optional: sesame seeds
- Combine the milk and cream in a bowl and microwave for 30 seconds.
- In a bowl, add together the milk+cream, egg, sugar, flour, yeast, and salt.
- Mix together; it will be sticky and get all over your hands, but after a few minutes it will come together.
- Knead for 15 minutes, or put it in a bread machine.
- Set in a warm place for around an hour, or until it doubles in size.
- Grease pans while they are proofing.
- After rising, knock back (or excitedly punch down) and knead for a few minutes.
- Roll the dough out and make around 12-13 even rolls.
- Open the can of red bean paste.
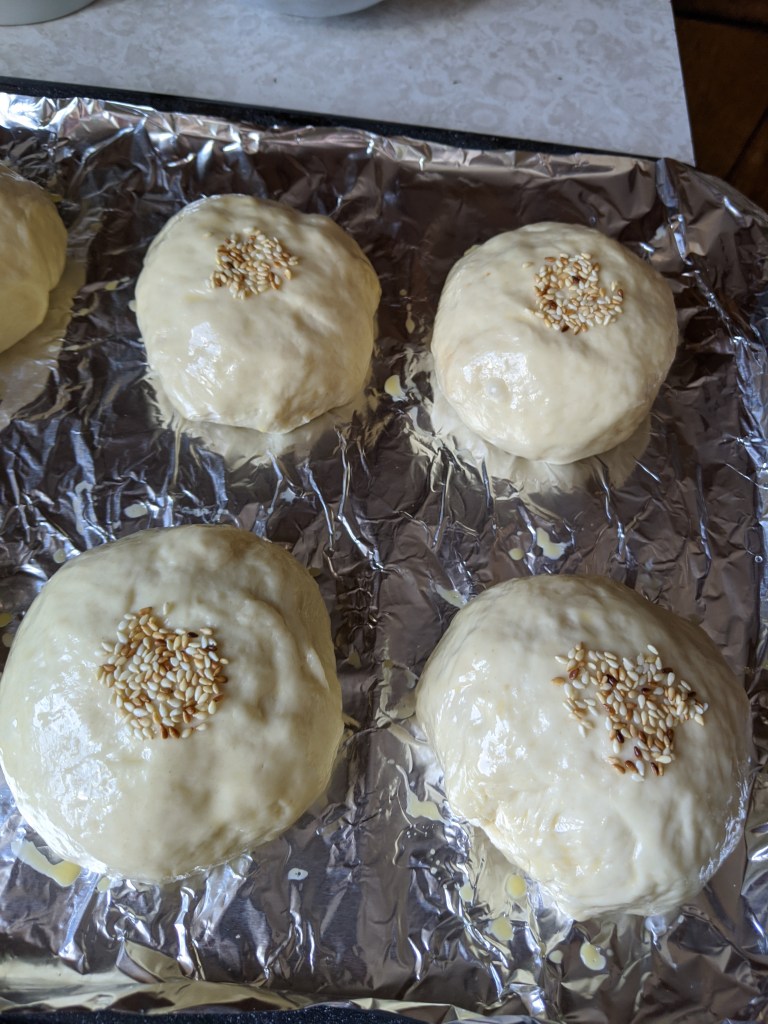
- Flatten out the rolls and spoon in red bean paste (just about 1 or 1&1/2 tbsp). (Think of it like making dumplings.) Close them up and pinch the top, roll them around to make it round and place the sealed top down.
- Divide into pans and cover for 30-60 minutes.
- Preheat to 350F/176C.
- Make the egg wash and brush on top of the buns.
- Bake for 23-25 minutes, or when the buns are golden and the bottoms are lightly browned.
- Cool them on a rack and eat!
- **Optional: put sesame seeds on top after egg wash.
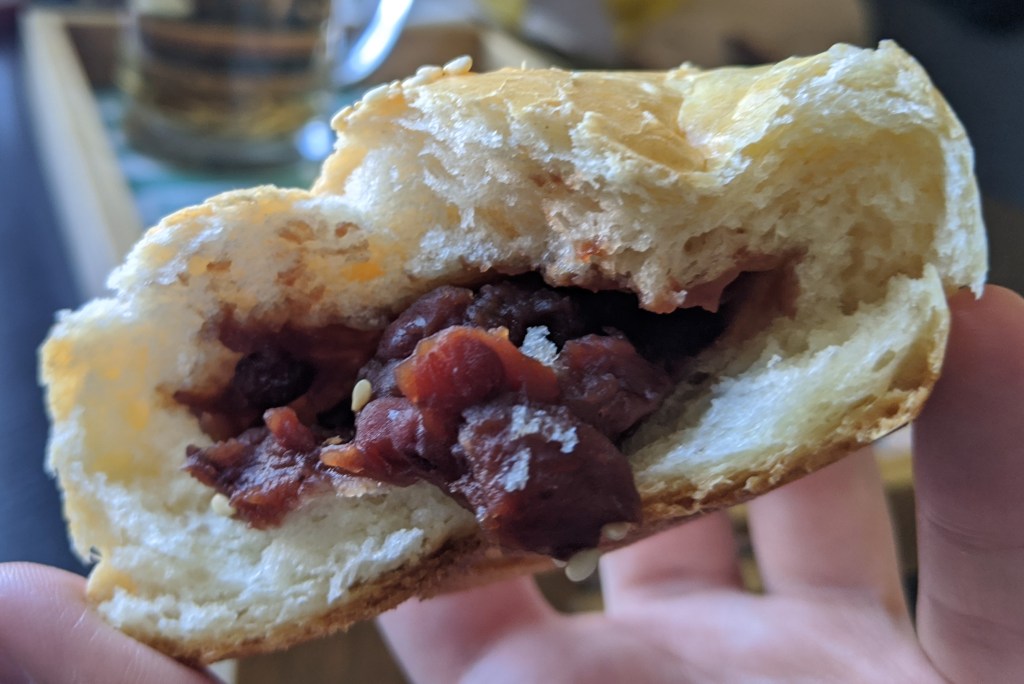
Milk bread is really soft already, so it makes for a good covering for the soft red bean paste. This recipe is also fool proof for me; I’ve made it at least 5 times already and they come out to be perfect and the same every time.
The dough is also very moist and sticky and will definitely stick to your hands. My only tip is to keep kneading and punching that dough. After a few minutes it will come together and form a nice ball to knead. Also refrain from adding additional flour because it will harden the dough and it will come out stiffer.
Other recipes also call for tapioca flour, cake flour, or other additions, so be creative!
The recipe I have adapted this from is https://www.womanscribbles.net/milk-bread/
Go and check out her website, it’s amazing! Also, if anyone had any additional tips or comments, please put them down below! I would love to hear about about it.